The process
gathering reference
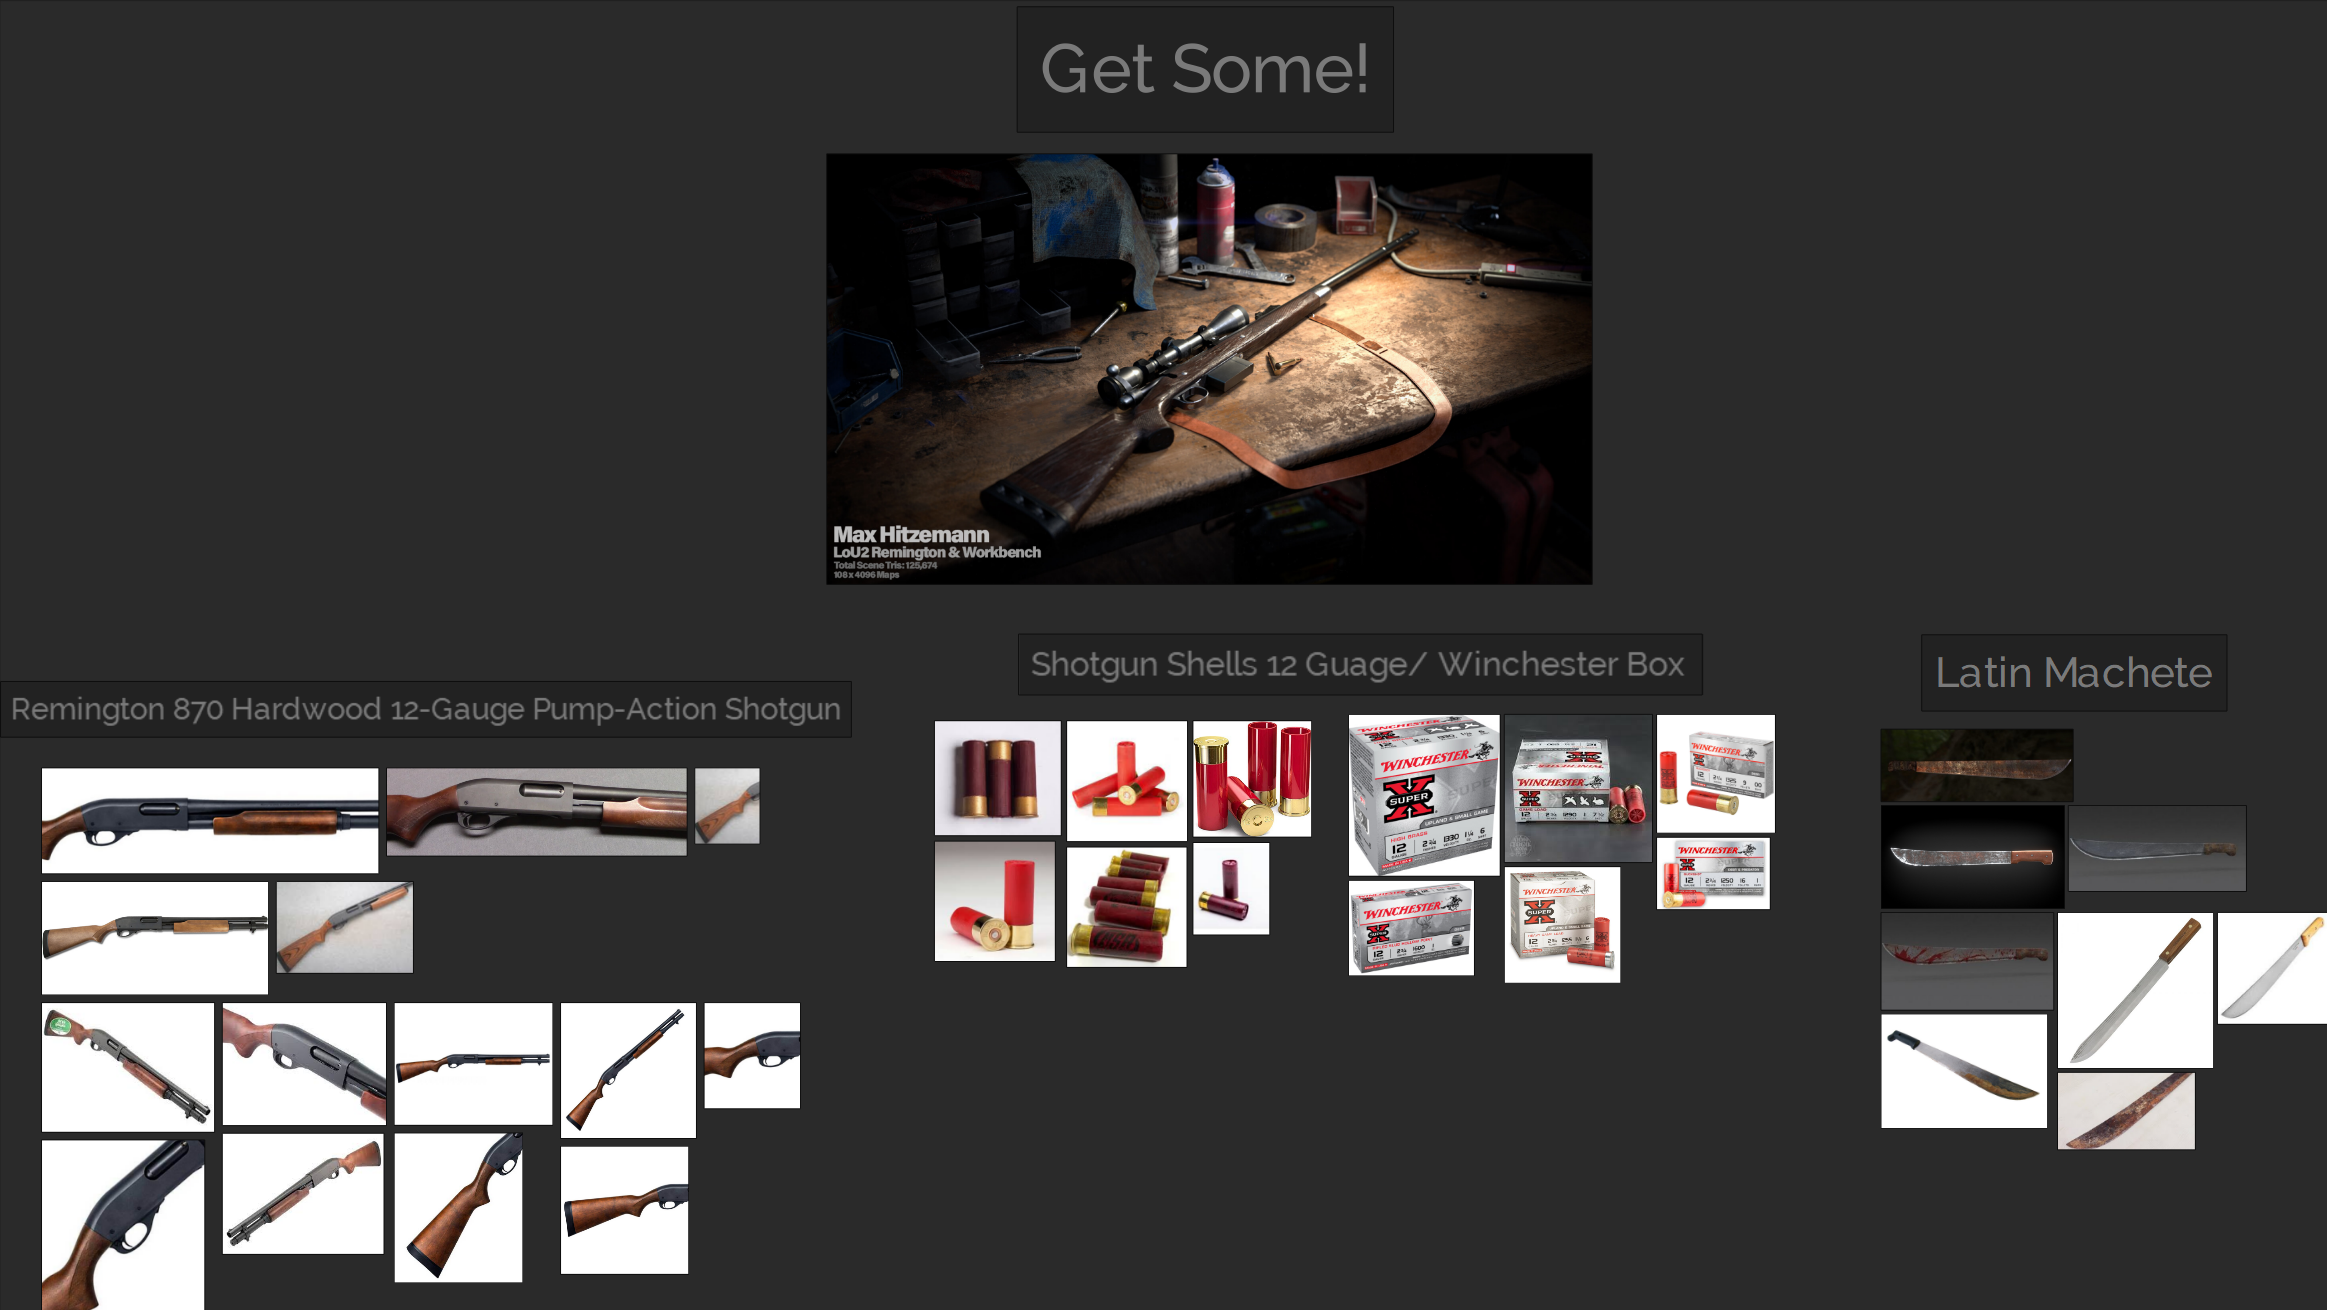
To create this scene, I started with a mood board encompassing specific images of each asset as well as the environment that I would soon create. “Get Some!” is inspired from the video game, “The Last of Us” as the main inspiration was to re-create a work bench. I used PureRef to create the mood board.
modeling
Next I used Maya 3D to start to block out and flesh out my hero assets. I start with a low poly version starting with the primary shapes of the object. This is where I create the initial shape of the asset getting a better feel as to how I will continue to build out the model. In this example, I am showcasing the Winchester Model 12 Trench Shotgun. After this , I move on to creating the secondary shapes of the asset as these are a bit more detailed and need more time to be fleshed out. Lastly, I created the tertiary areas of the shotgun as these are the highest level of detail of the asset.
uv mapping
Next I used the UV Editor in Maya to UV map my assets. Think about this part as breaking down cardboard boxes. Piece by piece the asset is broken down into different folds to be ready for the painting or texturing process. This process is very important and in most instances, one of the most tedious processes of the workflow.
Texturing
Using Substance Painter, I textured the Winchester Shotgun model as well as the other assets presented in the final scene. Here is where all the specific details come to life looking back to the reference that I gathered before any further step was taken. The appropriate details that are attached to a shotgun should be presented here such as wood grain, black steel, scratches, dirt, etc. This is also where how well the UVs are within in the mesh because if they are not done well, then the textures will not show up as intended for the asset.
Lighting
Once the texturing process is completed, now we can move on to lighting our scene. Each asset, their baked maps, and their textures are exported into Unreal and positioned based off of the reference. Here I used an HDRI image, a spotlight, and direct lighting. I also have a cinematic camera positioned in front of the workbench to capture UE sequenced renders of the final product.
rendering
As mentioned above, the Unreal Engine sequencer creates final renders of the shot selections taken with the cinema camera. During this process, I used a 35mm camera lens and plugged in factors to create this final product.
FINAL PRODUCT
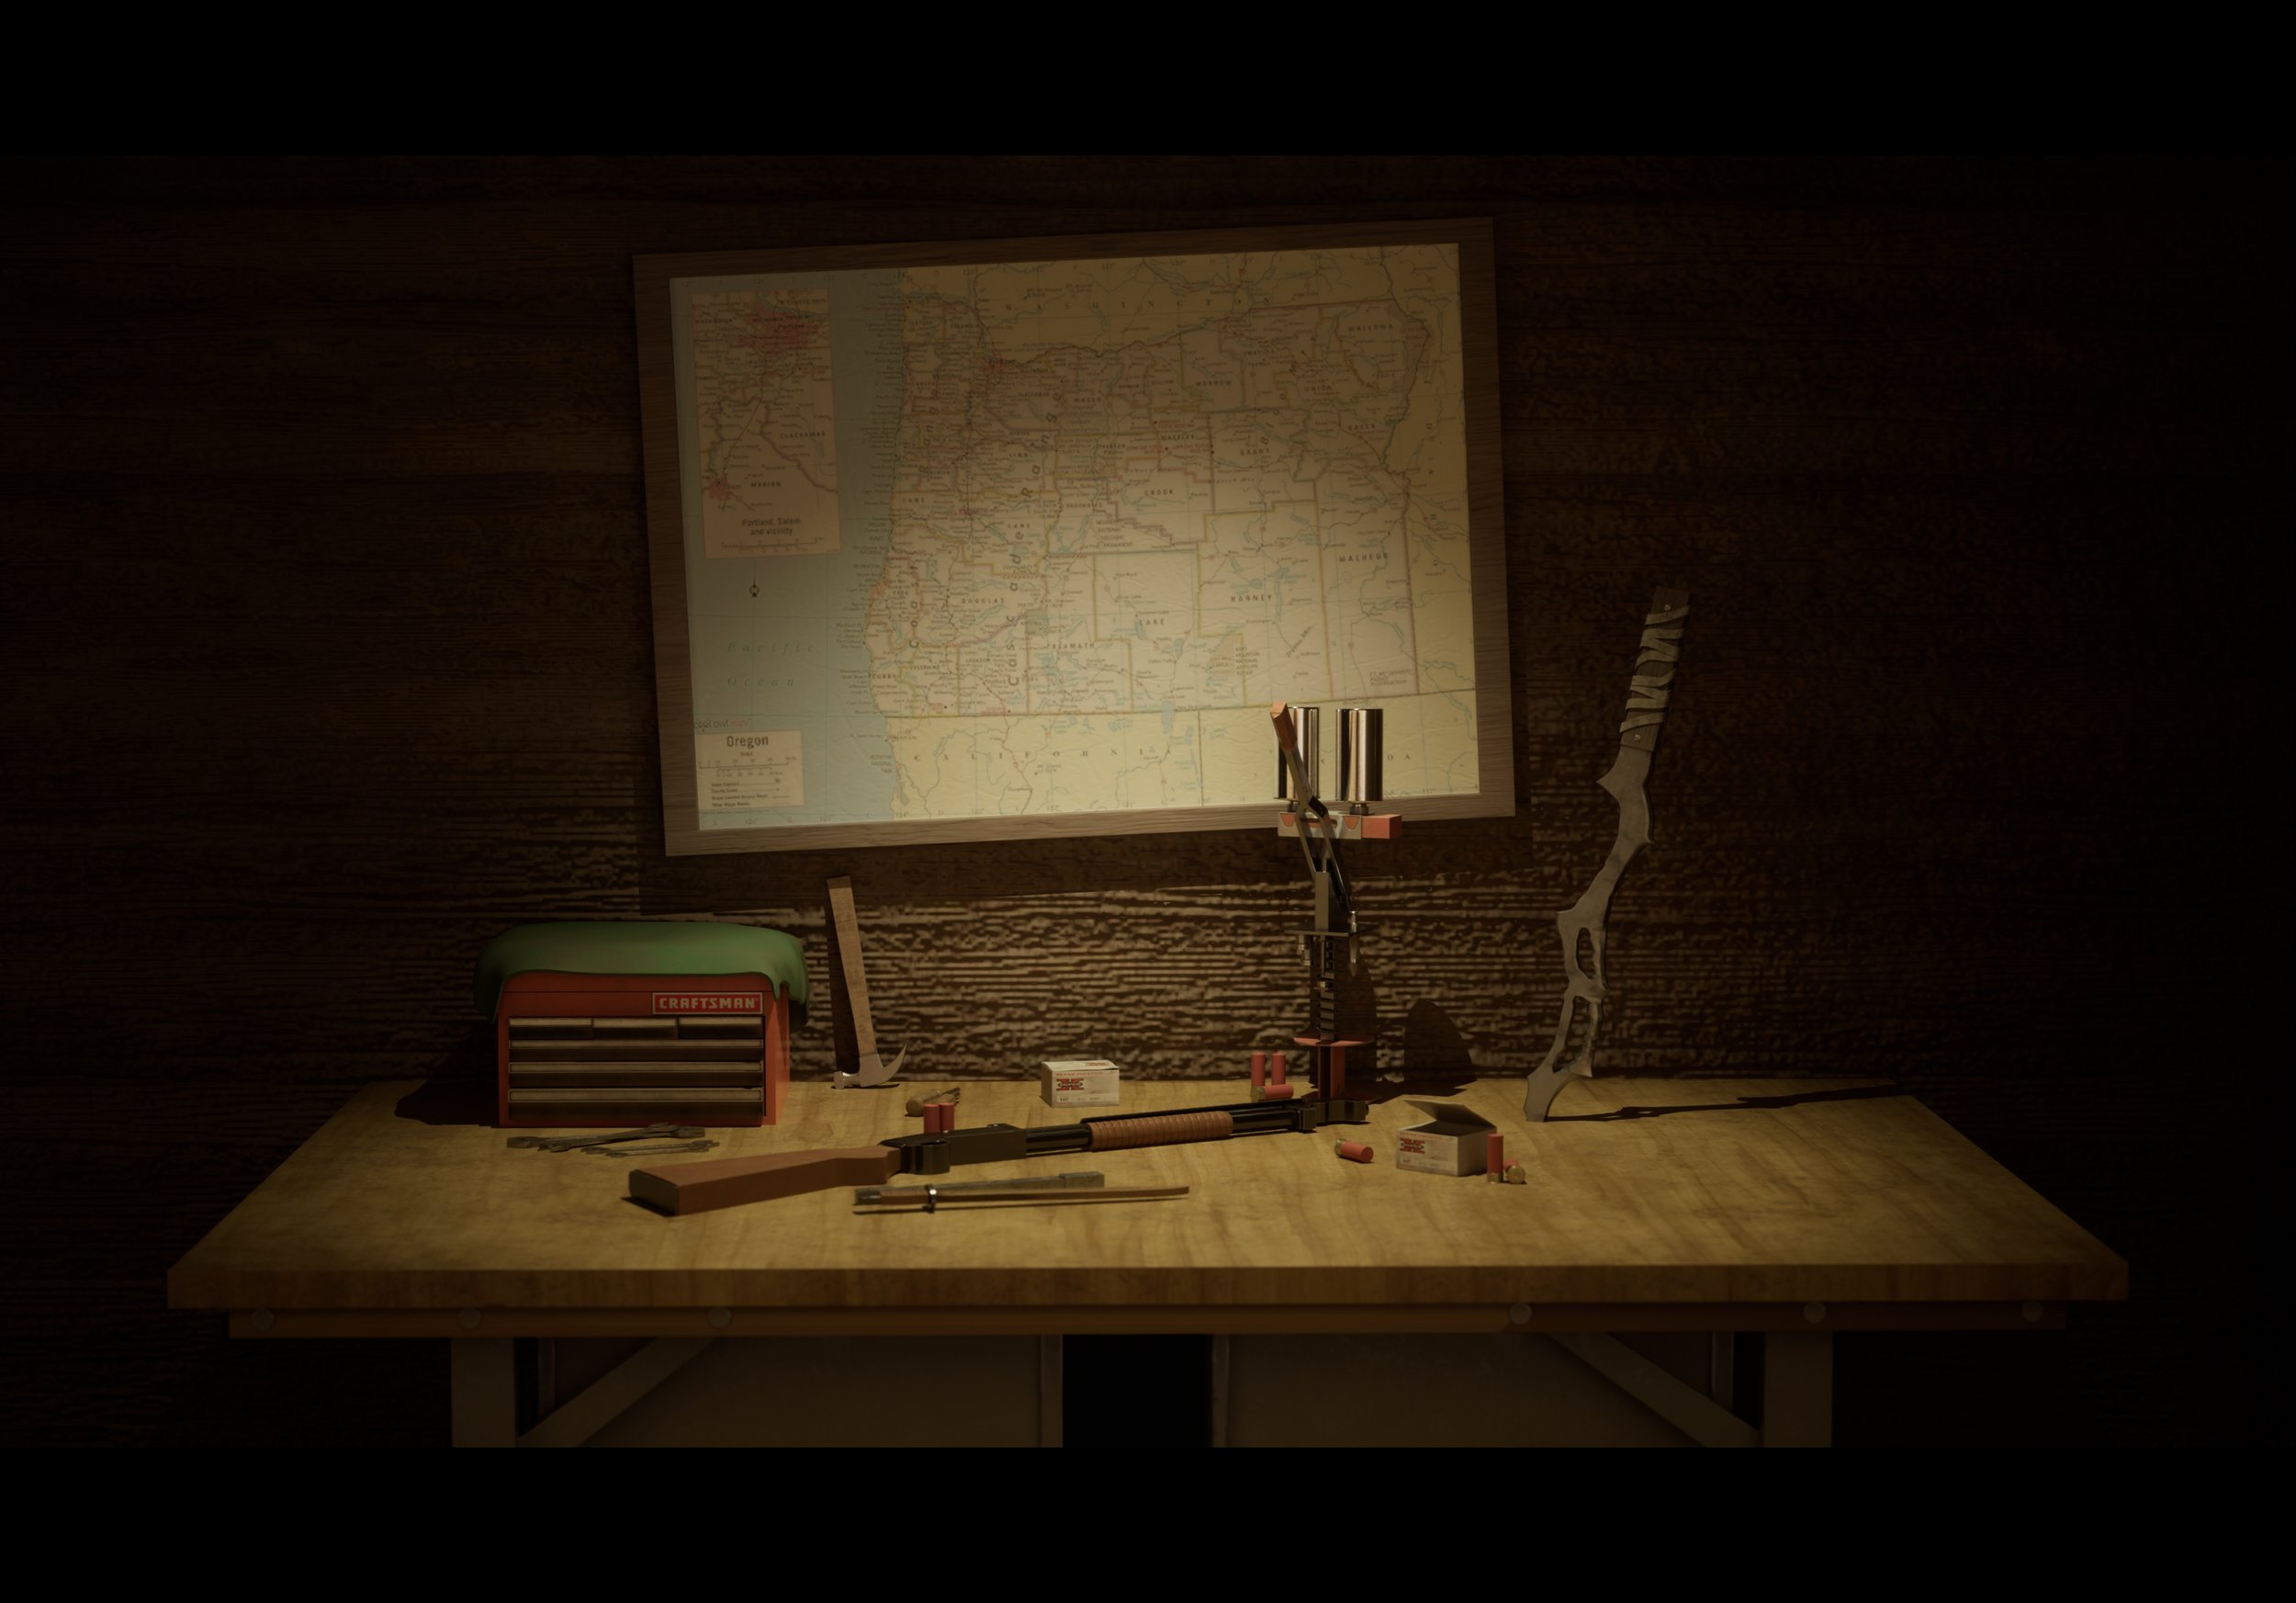
The ending result!


